You need to have distinct skills and sufficient knowledge of your tools to be efficient at woodworking. Otherwise, you will just be hammering away nails and wood without getting any positive results.
In this article, we are going to talk about some useful tips and tricks to enhance your woodworking skills. These tips are no secret, but many woodworkers, especially beginners, often forget about them and make their job harder than it should be.
Here are ten woodworking tips to boost your efficiency, so without wasting time let us start. Let LumberWork do the research for you.
1. Keep Your Workspace Clean

You can keep your workspace clean by properly organizing your tools and getting rid of the waste products. This makes the place better to look at and also allows you to focus well.
Keep the most important and useful tools in a place where those can be easily seen and reached. Once you are done with your project, keep the scrap wood. You can use them later for small projects. As for the wooden strips and sawdust, make sure to dispose of them. Before leaving, check your table and the floor for any unused nails or sharp objects.
2. Always Measure Moisture Content
Moisture content can affect the quality of the wood and your project. If it has too much moisture, the finished product may become prone to shrinking and if it is too dry, it may crack. Incorrect moisture causes 80% of the problems with woodwork.
Therefore, you need to measure the moisture content of all the pieces of wood you will be working with. This is more important when you are using two different kinds of wood. The easiest way to measure would be to use a moisture meter. Modern meters come with apps that are highly accurate. They are also cheap, so always keep one in your toolkit.
Detailed information about toolkits and associated materials can be found at woodworkingtoolkit.com.
3. Keep Your Area Well-lit
Better lighting helps to focus more on your work. For smaller projects, you need to be precise and careful. Bright indoor lights can help with that. Install overhead and focused lighting to boost productivity.
4. Master Different Sanding Techniques

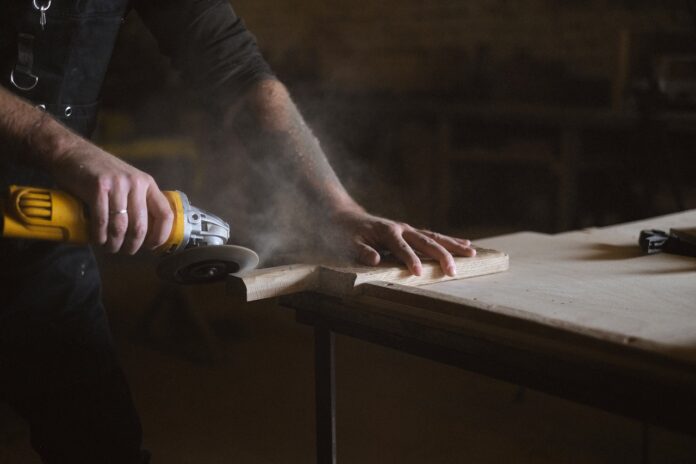
Sanding is time-consuming and tedious work. The wrong tools and hard-to-reach areas make this even more complicated. You can not properly sand corners or edges with a sanding block, using sandpaper with your hands may also not suffice.
For curved surfaces, you have to use curved sandpapers. You can simply fold a magazine or catalog and wrap the sandpaper around the edge to reach those difficult spots.
For flat surfaces, if you do not have any power tools, use the sand block. It is faster and more efficient since it evenly distributes the applied pressure.
Always sand towards the grain of the wood. To remove deep stains and scratches, use your sand block or paper at a 45º angle. If you are going to sand a painted surface, then always use clog-resistant sandpapers. Paint clogs up the regular sandpaper and makes it difficult to work with.
Remember to change the sandpaper often and use papers of different grit according to the type of wood.
As for power tools, beginner woodworkers can use belt sanders costing around $500-$2,000.
5. Stain More Effectively
Stain sprayers can be expensive and chances are, you won’t even need them that often. Flat surfaces can be stained easily, but you may have problems when applying stain to corners and edges.
But just like sanding, there is a small trick you can use. Lay down a piece of plastic to cover the surface. Buy a cheap spray bottle or make one yourself and spray the stain on those hard-to-reach spots. Now, use a rag to wipe down that surface and you should be done.
6. Use Accurate Measurement Tools
The most basic, yet effective tool for measurement is the drafting square. You can use it to accurately create your layout map. A drafting square with a range of 2-3 feet is much more accurate than any other drywall square. Another necessary tool is the tape measure.
7. Keep Your Blades Sharp

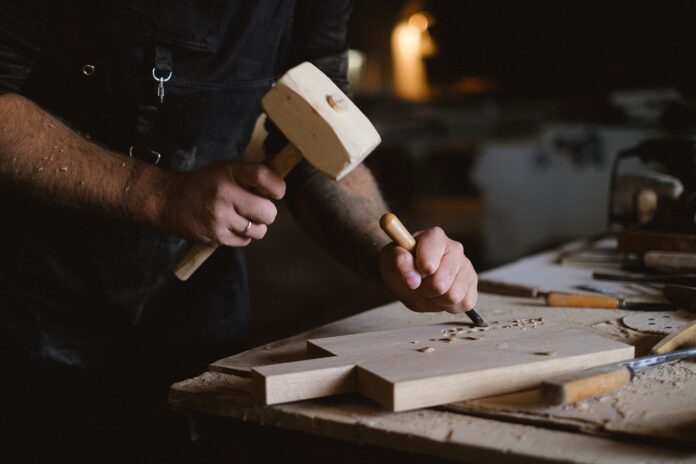
Sharp blades are important to get nice, clean cuts. Dull chisels, scrapers, gouges, planes, and blades will tear the wood fibers unevenly and give an unprofessional look.
All dull tools need to be ground, honed, and polished.
You can use a belt sander, a wet grinder, or a bench grinder to sharpen your blades. But make sure your blades do not get too hot in the process otherwise, there may be an accident. To cool it down, dip it into a pan of water every few seconds.
For honing, depending on your blade, use a wet stone or an oil stone. To finish it off, you will need a fine wet stone and stropping leather for polishing. This will make your blades good as new and ready for cutting.
8. Stop Glue Stains
Excess glue can leave some nasty stains on the finished project. To make sure your wooden pieces do not have glue oozing down, use a clamp to join the pieces without gluing. Cover the joint with masking tape and use a utility knife to cut it.
Now, separate the pieces and spread the glue. The glue will still pour down, but instead of the wood, it will fall on the tape. Take out the glue-filled tape before it dries.
9. Use Wood Lathes Depending on Your Project
Many woodworkers waste their time finding the “Perfect” wood lathe. But, honestly, there is no one wood lathe for all your projects. If you are turning short pieces of wood, then a short lathe is perfect. They also take up less space. But if you are working on large projects with longer or wider pieces, then you will need a bigger one.
10. Use Cordless Drills

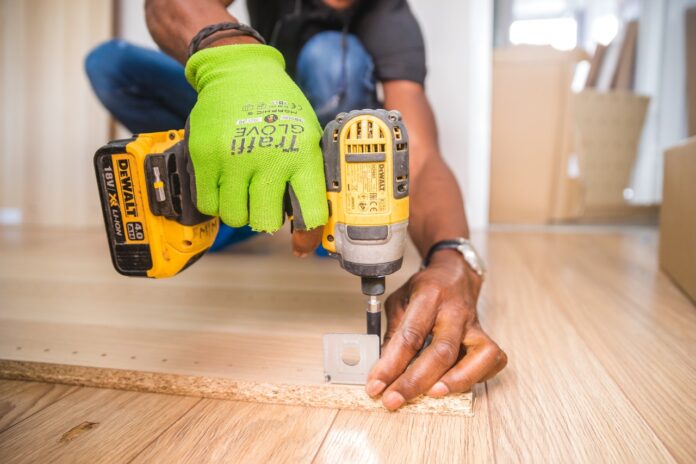
Speed control cordless drills are extremely useful. If your project requires a lot of drilling, then choose high-end ones that have 1000 rpm. These are best for working in small areas as you won’t have to worry about managing the long cord.
Final Thoughts
It is important to achieve efficiency in woodworking. Otherwise, you will be spending weeks without making any progress. Try the tips we discussed above to make your work easier and finish on time.


