A few years ago, you may have made the choice of building a new deck for your house, one that is constructed from composite wood. Of course, you probably paid a bit extra for the materials, mostly because you probably assumed that it won’t need a lot of maintenance and that it’ll remain beautiful for several years.
However, this is not entirely true, especially if you started noticing mildew recently, as well as discoloration. You may even start to notice stains from kids spilling things or random marks from your animals scuffing up the surface. If so, you are probably wondering – what do I need to do to properly clean and restore it? Luckily, this article might provide you with an answer. Let’s take a closer look at the steps you’ll have to take for washing and renovating it properly (which includes a good dose of sanding, as shown at SanderScore):
Step 01: Firstly, Wash it Properly
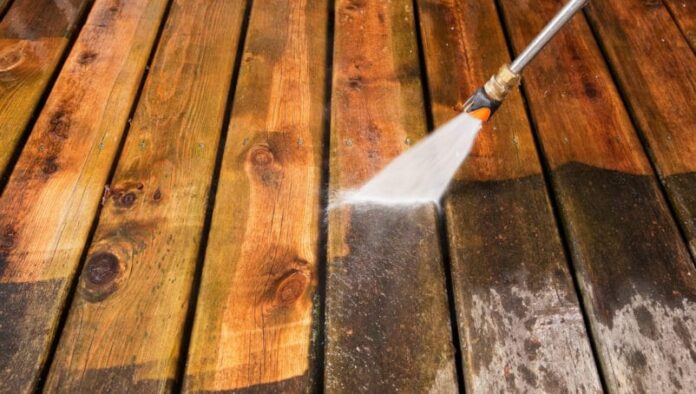
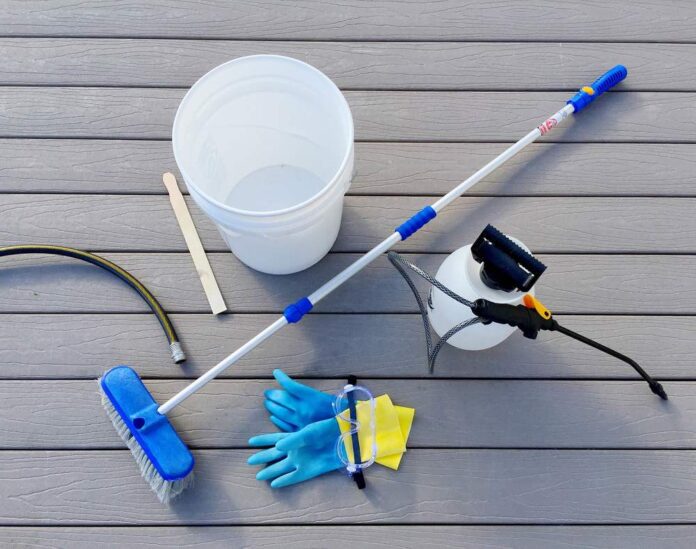
Before you actually do anything else from this list, the primary task is to get rid of any filth, smudges, debris, and mold from the material. Now, for the washing part, you can always use a gardening hose and a large brush, however, it’ll be simpler if you utilize a pressure washer. Why should you do this?
Well, a pressure machine will assist you with easily eradicating mold, grime, and other things from the exterior, but more importantly, you’ll be capable of completing the process faster. Remember – if you leave something on the timber, you won’t be capable of removing it once you’re done with the entire task. Hence, assure that you properly and entirely clean it.
Additionally, you should not utilize bleach to wash the wood. Not only will it destroy any flowers, but it’s also quite difficult to work with. Yes, it’ll help you with reducing the mold, but, it won’t liquidate it from the material. Instead, you may want to opt for utilizing a detergent that is manufactured for composite materials only.
Step 02: Next Comes The Sealant
Although you don’t have to necessarily do this, a lot of experts still recommend it. If you correctly stain it, you’ll be able to utilize it for several years, without needing to go through the entire process again. On the other hand, if you do not choose to do so, you should be planning on washing it annually.
Step 03: Opt For The Best Sealant On The Market
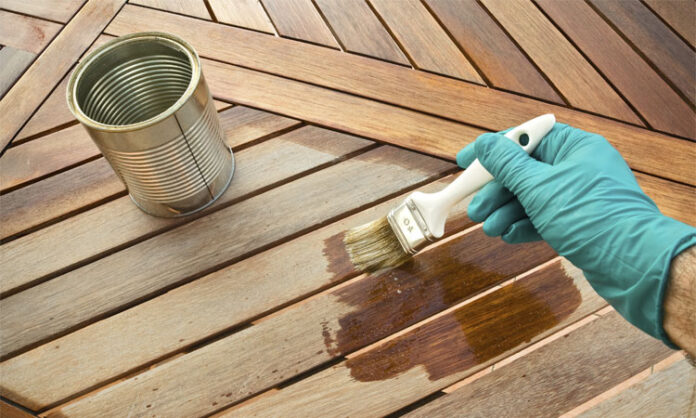
It’s quite essential to pick the best composite decking sealant, mostly because it’ll influence the entire outcome of your project. When searching for the right one, there are several points that you should consider. For starters, you’ll have to choose a water-based product, instead of a solvent.
Why? Well, it’ll be simpler to use it and it won’t modify the color of the timber. Also, other options might prompt mildew growth since it could act as a food origin to them, but by opting for one that is water-based, you’ll eliminate this problem. However, are you not sure what product you should pick?
If you’re unsure about what sealant you should choose, you could always opt for a professional company that’ll help you with washing and restoring your deck in no time. If you are interested in seeing what services you can opt for, you can click here in order to see additional information.
Step 04: Always Read The Instruction Manual!
If you’re like me, you probably skip the entire ‘reading the instruction manual’ part, but please, read it. All the things that you’ll want to know about a particular cleaning product will be on the label, which is why you must ensure that you understand it. The instructions could help you with the outcome of your projects and you might avoid some major problems by learning how to utilize it.
For instance, the manual will tell you how long it might need to dry for, how many layers you should apply to your timber, and how much you’ll have to wait before applying another layer. All of these are extremely crucial, particularly if you wish to be satisfied at the end of the day.
Step 05: You’ll Have to Brush it!
No matter how you prefer to apply the sealer, you must, I repeat, you MUST not forget to brush it! If you opt for rolling it on, you should simply brush it in after it is applied, however, ensure that it didn’t dry before doing so. This also refers to other application techniques as well.
A lot of people do not know this, but, if you choose to do this, you’ll produce friction on the outside, which means that you’ll be capable of applying the product to the surface properly. The more the material absorbs, the better the outcome will be. Hence, when you roll the sealant, ensure that you brush it in.
Step 06: Remove Any Excess Sealant
If you place too much of the product on the material – more than it can actually absorb – you’ll want to clean the excess product. First of all, the construction won’t be aesthetically pleasing if you don’t do this, mostly because you’ll see specks on the exterior. And second, those specks will probably peel, which can harm the wood later on. Hence, only apply the amount the timber can absorb and clean the rest.
Step 07: It Needs Time to Dry
If you reached this point, your deck is finished and if you went through all of the aforementioned steps, your project is probably one that you’re satisfied with. But, you could still mess it up if you do not allow it to dry properly and entirely. This means that you need to wait until it is completely dry and then start putting your stuff back onto it.
Step 08: Maintain it Often
Last on our list, but not least important is ensuring that you maintain your composite deck frequently. By doing so, you won’t have to go through this entire process again, which means that you won’t have to treat it for several years – which can save you a lot of time, as well as money.
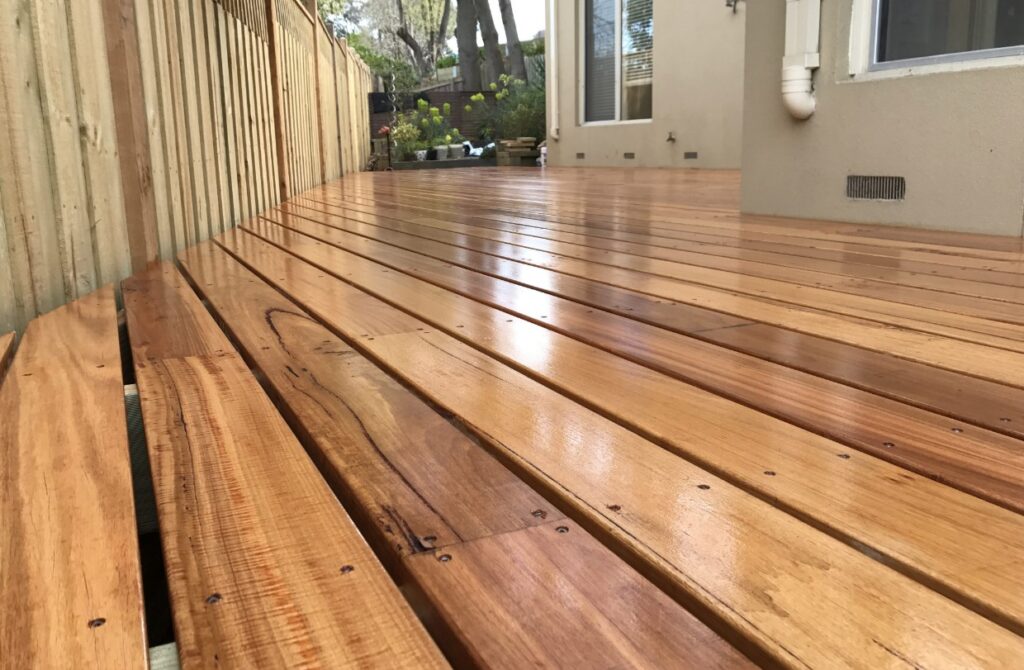
Conclusion
As you can see, there are various things that you’ll have to do in order to properly and efficiently clean and restore the composite deck on your property. However, by doing so, you’ll have a deck that looks amazing, and more importantly, you could ensure that you don’t need to wash it often.
So, now that you’re aware of all the steps you have to and definitely should take, you should not waste any more time. Instead, go back to the start of this guide and begin with the initial tip we mentioned – which is ensuring that you properly clean the surface before doing anything else.


